13th Oct 2023
Journey with us through the splendid and intricate world of marbles; those enticing, gleaming orbs that have whimsically rolled through our childhoods and into the hearts of collectors, bringing with them joy, games, and a touch of mystery with their enthralling swirls and colors.
How The Marbles Are Made - 7 Steps

Step 1: Rolling Back in Time
A. A Brief History of Marbles
Marbles, throughout history, have transitioned, morphing from humble clay and stone spheres, engaged in ancient games, to visually arresting glass marvels swirling with a kaleidoscope of colors Each civilization from the Indus Valley to ancient Rome has etched its influence. leaving behind a breadcrumb trail of evolutionary design and materials that have been harnessed and refined across the epochs.
B. Materials and Methods Over Time
Enveloping a wide spectrum of materials, ranging from clay to stone, porcelain, and ultimately, culminating in glass, marble onyx chess, have witnessed a fascinating evolution. The methods and techniques of crafting them have also metamorphosed, aligning with advancements in technology and aesthetics prevalent during various historical periods, enhancing their appeal and diversifying their applications.
Step 2: Gathering the Ingredients
A. Identifying Raw Materials
The genesis of a glass marble begins with a meticulously curated selection of raw materials. Silica sand, soda ash, and limestone are the primary ingredients, chosen for their quality and purity, destined to be melded in the searing heat to forge the foundational structure of a marble, ensuring clarity and durability.
B. Purity is Key
Maintaining the purity of the raw materials is paramount to ensure that the resultant marbles are not only clear but also robust and visually striking. Any impurities could result in imperfections, diminishing the aesthetic and structural integrity of the final product.
Step 3: From Heat to Sphere
A. Into the Furnace
Immerse yourself in a realm where raw materials are subjected to blistering temperatures, surging beyond 1700°C, to birth a pool of molten glass. This radiant, pulsating liquid, teeming with potential, will soon be meticulously molded, marking the inception of the marble’s physical journey from a viscous liquid to a solid sphere.
B. Forming the Sphere
Through a gentle yet precise procedure, the molten glass is sheared into designated portions and coerced into spherical molds. A journey where formless takes form, the liquefied glass begins to adopt the iconic, beloved roundness of a marble, embodying the first physical manifestation of its destined shape.
Check out my review on the 5 must have chess set for beginners
Step 4: Infusing Colors and Designs
A. Introducing Colored Glass Rods
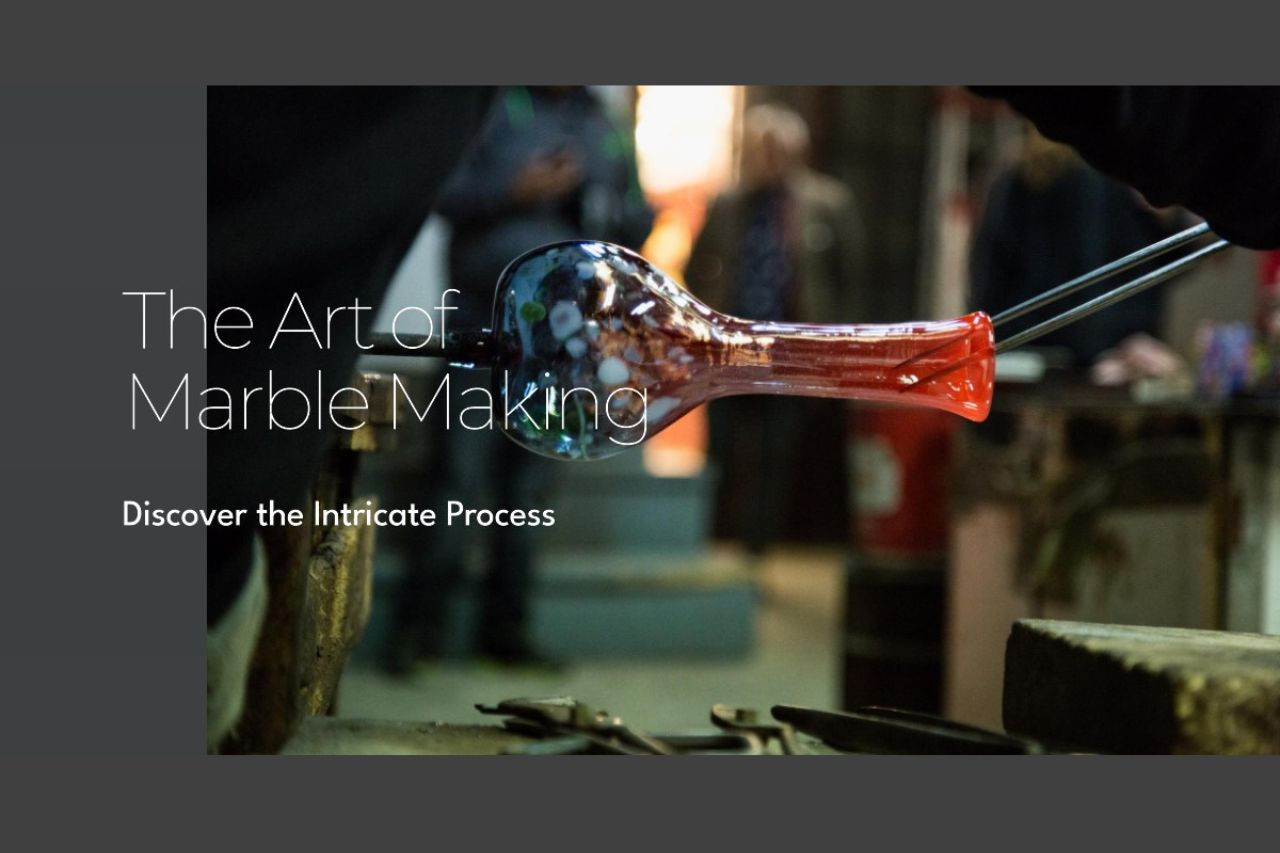
Artistry comes into play as artists gracefully integrate thin rods of colored glass into the molten mixture. This initial step in the design phase is pivotal in establishing the primary colors that will soon intertwine to create the mesmerizing internal patterns within each marble.
B. Crafting Patterns
Through the adept hands of artisans, utilizing techniques such as the delicate twisting and the meticulous feathering, entrancing Patterns are born. Swirls of color dance and entwine within the solidifying glass, forever preserving their dynamic ballet within the confines of the now-solid marble.
Step 5: The Art of Controlled Cooling
A. What is Annealing?
Annealing, an essential stage, is a careful, controlled cooling process, orchestrated within an annealing oven. This phase gradually eases the marble from the scorching birth of its creation to a stabilized, cooler existence, ensuring the internal stress wrought from its heated formation is alleviated.
B. Why is it Important?
Ensuring that the marble does not cool too rapidly is vital in maintaining its structural integrity, preventing cracks and ensuring longevity. The annealing process safeguards the marble, preserving its beauty enclosed within, and bestowing upon it a robustness that will endure throughout its existence.
Step 6: Achieving Glossy Perfection
A. The Tumbling Process
Here, the marbles onyx lamps undergo a thorough polishing phase, known as mechanical tumbling. This procedure gently rolls the marbles against one another, caressed by an abrasive material, which methodically wears away any rough surfaces or residual imperfections, resulting in a marble that is not only visually splendid but also tactilely smooth.
B. Final Touches
In these final stages, each marble emerges, revealing a lustrous, glossy surface. It is here that the marble attains its sleek, enticing appearance, reflecting light with a gentle gleam, ready to captivate and charm those who behold and cradle it.
Step 7: The Rigorous Check and Packing
A. Ensuring Quality
A stringent quality check is employed, scrutinizing every marble to ensure it adheres to the definitive standards pertaining to size, shape, and design. Each one must pass this meticulous examination, ensuring Only those of the highest caliber progress to the next stage.
B. Safe Packaging
Once affirmed to be of optimal quality, the marbles are securely packaged and safeguarded in preparation for their journey into the world. Here, they will find themselves rolling into the collections of enthusiasts. The pockets of playful children, and the storied histories of families and friends alike.
Check out my blog on using color collaboration to maximize room space!
Takeaway
The creation of a marble is a fascinating voyage from a blend of raw, earthen materials to a sleek, colorful sphere that brings joy to collectors and players alike. Behind every roll of a marble is a tale of craftsmanship, merging art and science, ready to be cherished and admired in the palm of your hand.


